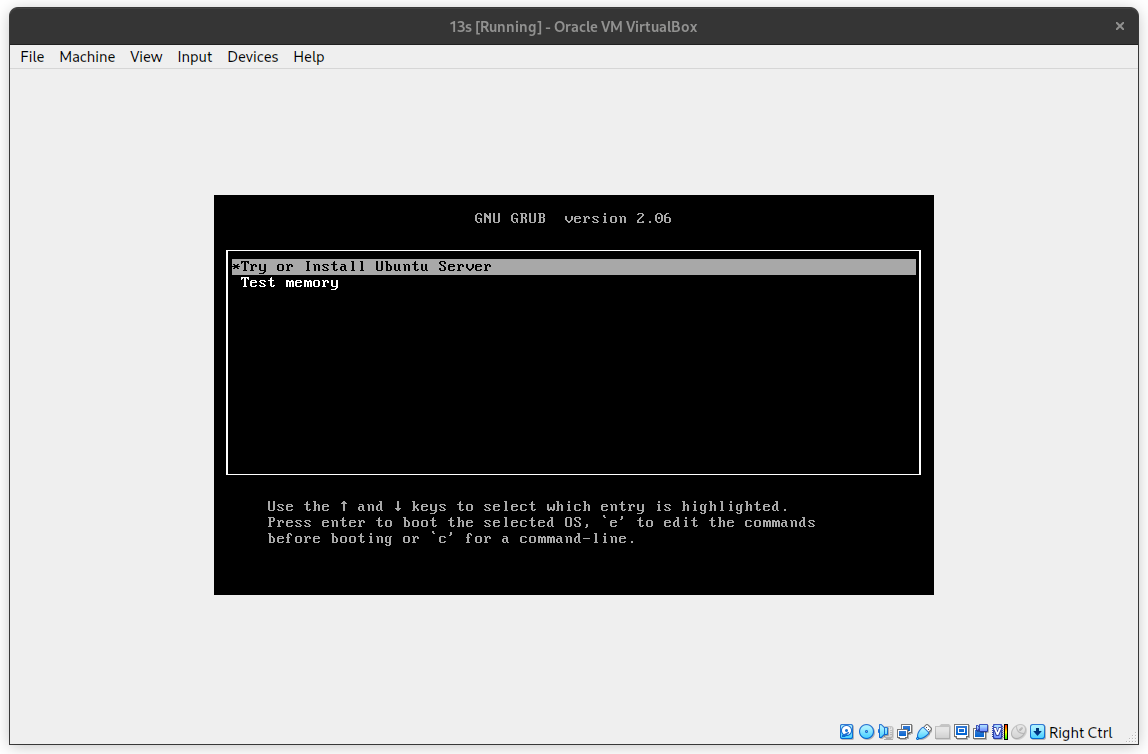
Installing Ubuntu
Table of contents
- Initial Setup
- Storage
- Software
- Account Info
- Finishing touches
- Eject the Installation disk.
- See also:
For everything that is not covered on this page, you can accept the default and continue!
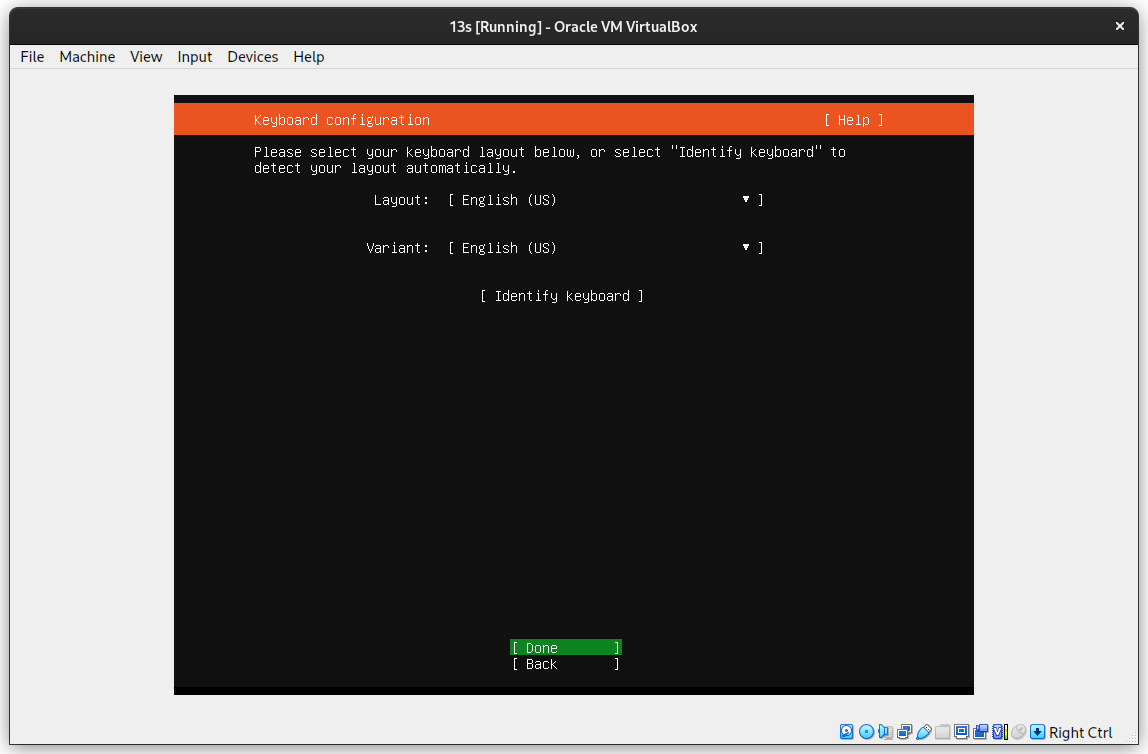
Initial Setup
- Configure your language and keyboard as appropriate
Storage
- Make sure to Turn off LVM!
- Again, UNCHECK “Setup this disk as an LVM group”

- You will probably want to use your entire disk. This is your entire virtual disk, not the disk on your host machine. Y
- It will prompt you if you want to wipe all data on your disk. This is fine (unless you’re installing outside of a virtual machine)
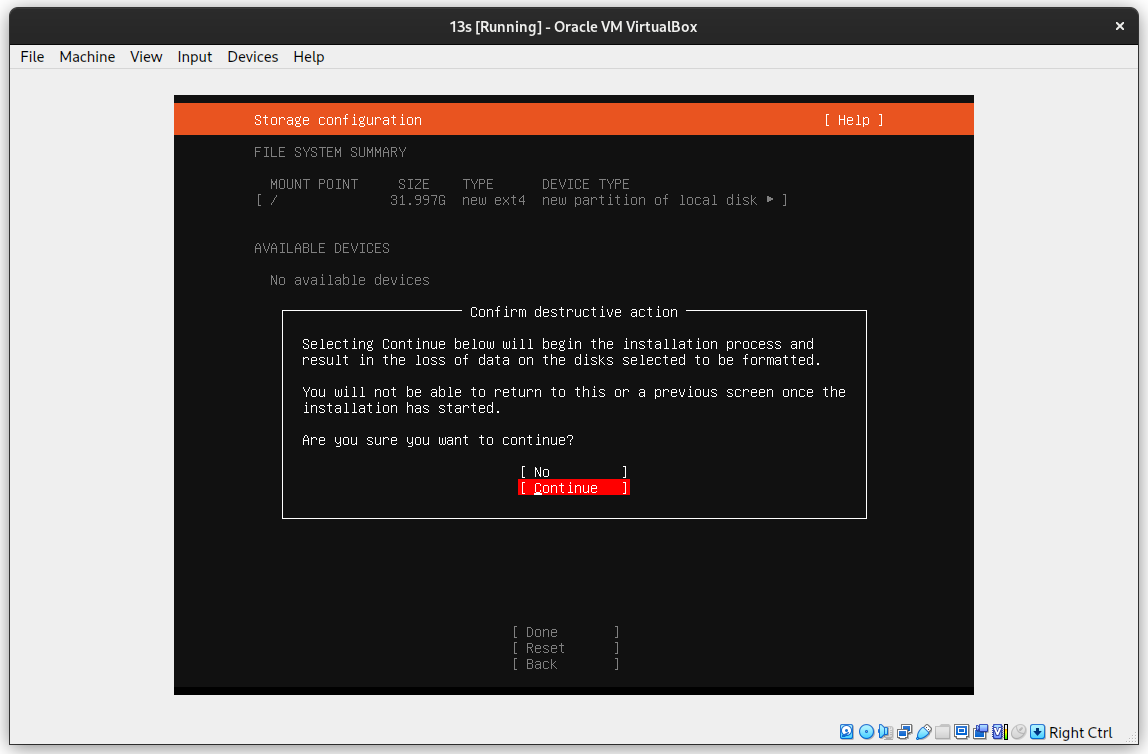
- press “Yes” or “ok” a bunch
Software
- Check the “Install openssh server” option
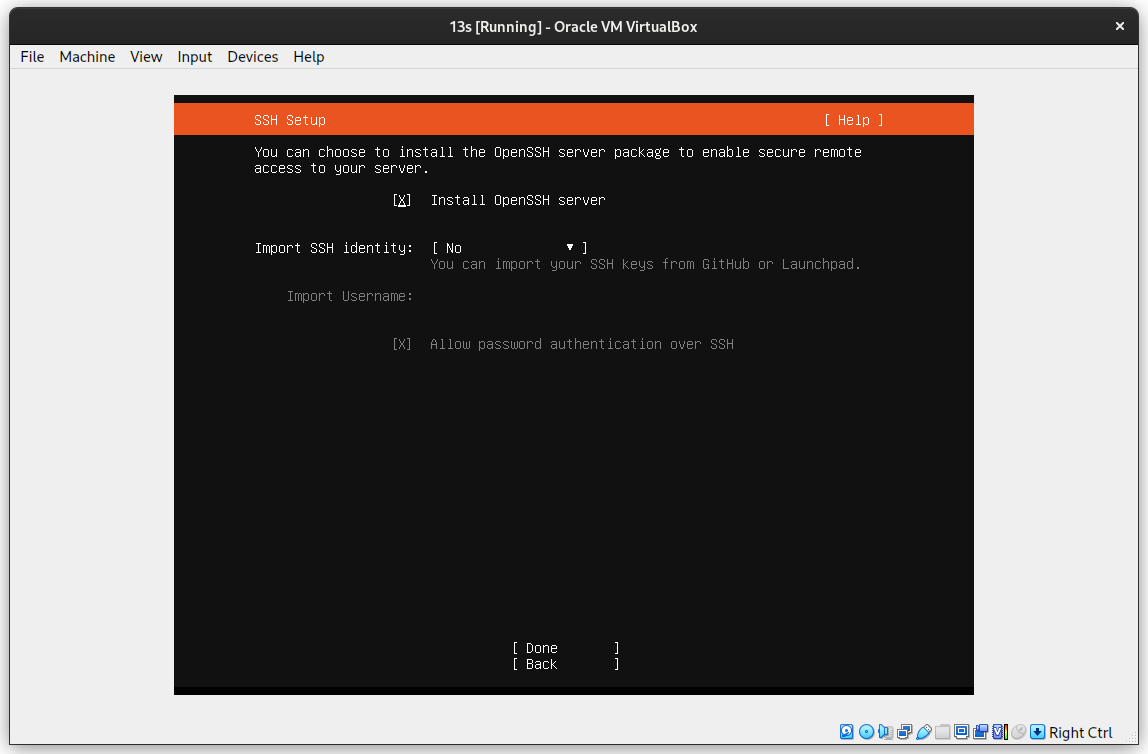
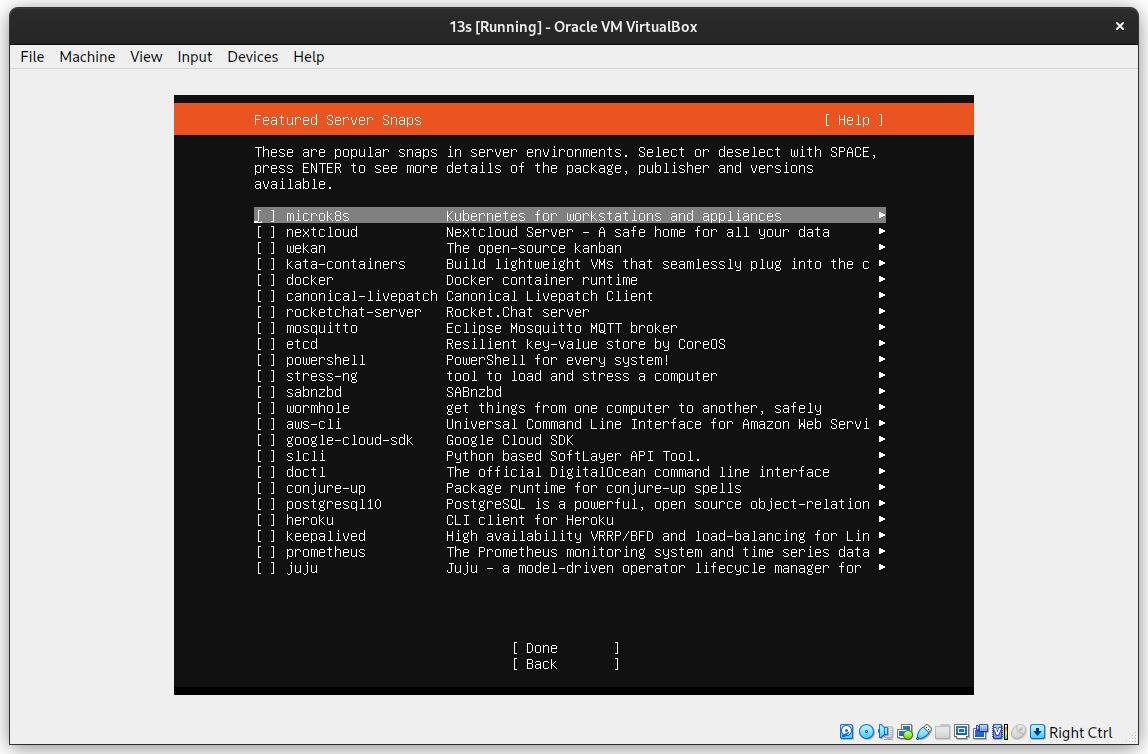
- When it asks if you want to install any snaps, just press “Done”.
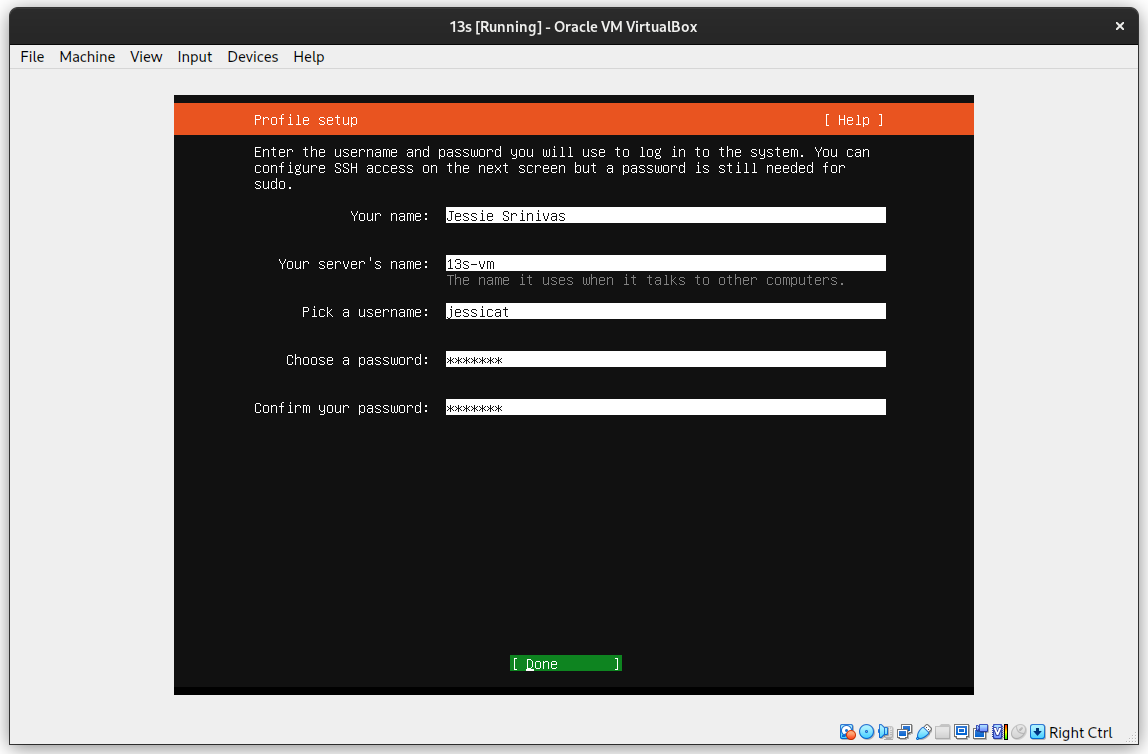
Account Info
- Setup a username and password. These can be anything you want
- You will need to remember your password
- You can set the server name to anything you want
Finishing touches
- press “yes” some more
- If you get a prompt to “Enable Ubuntu pro”, select “No”
Eject the Installation disk.
When you reach the point where installation finishes, you can press “restart now”. There is a very good chance that you will see an error that says “[Failed] unmounting /cdrom” or similar. This is ok! Instructions will vary depending on what Virtual Machine software you are using
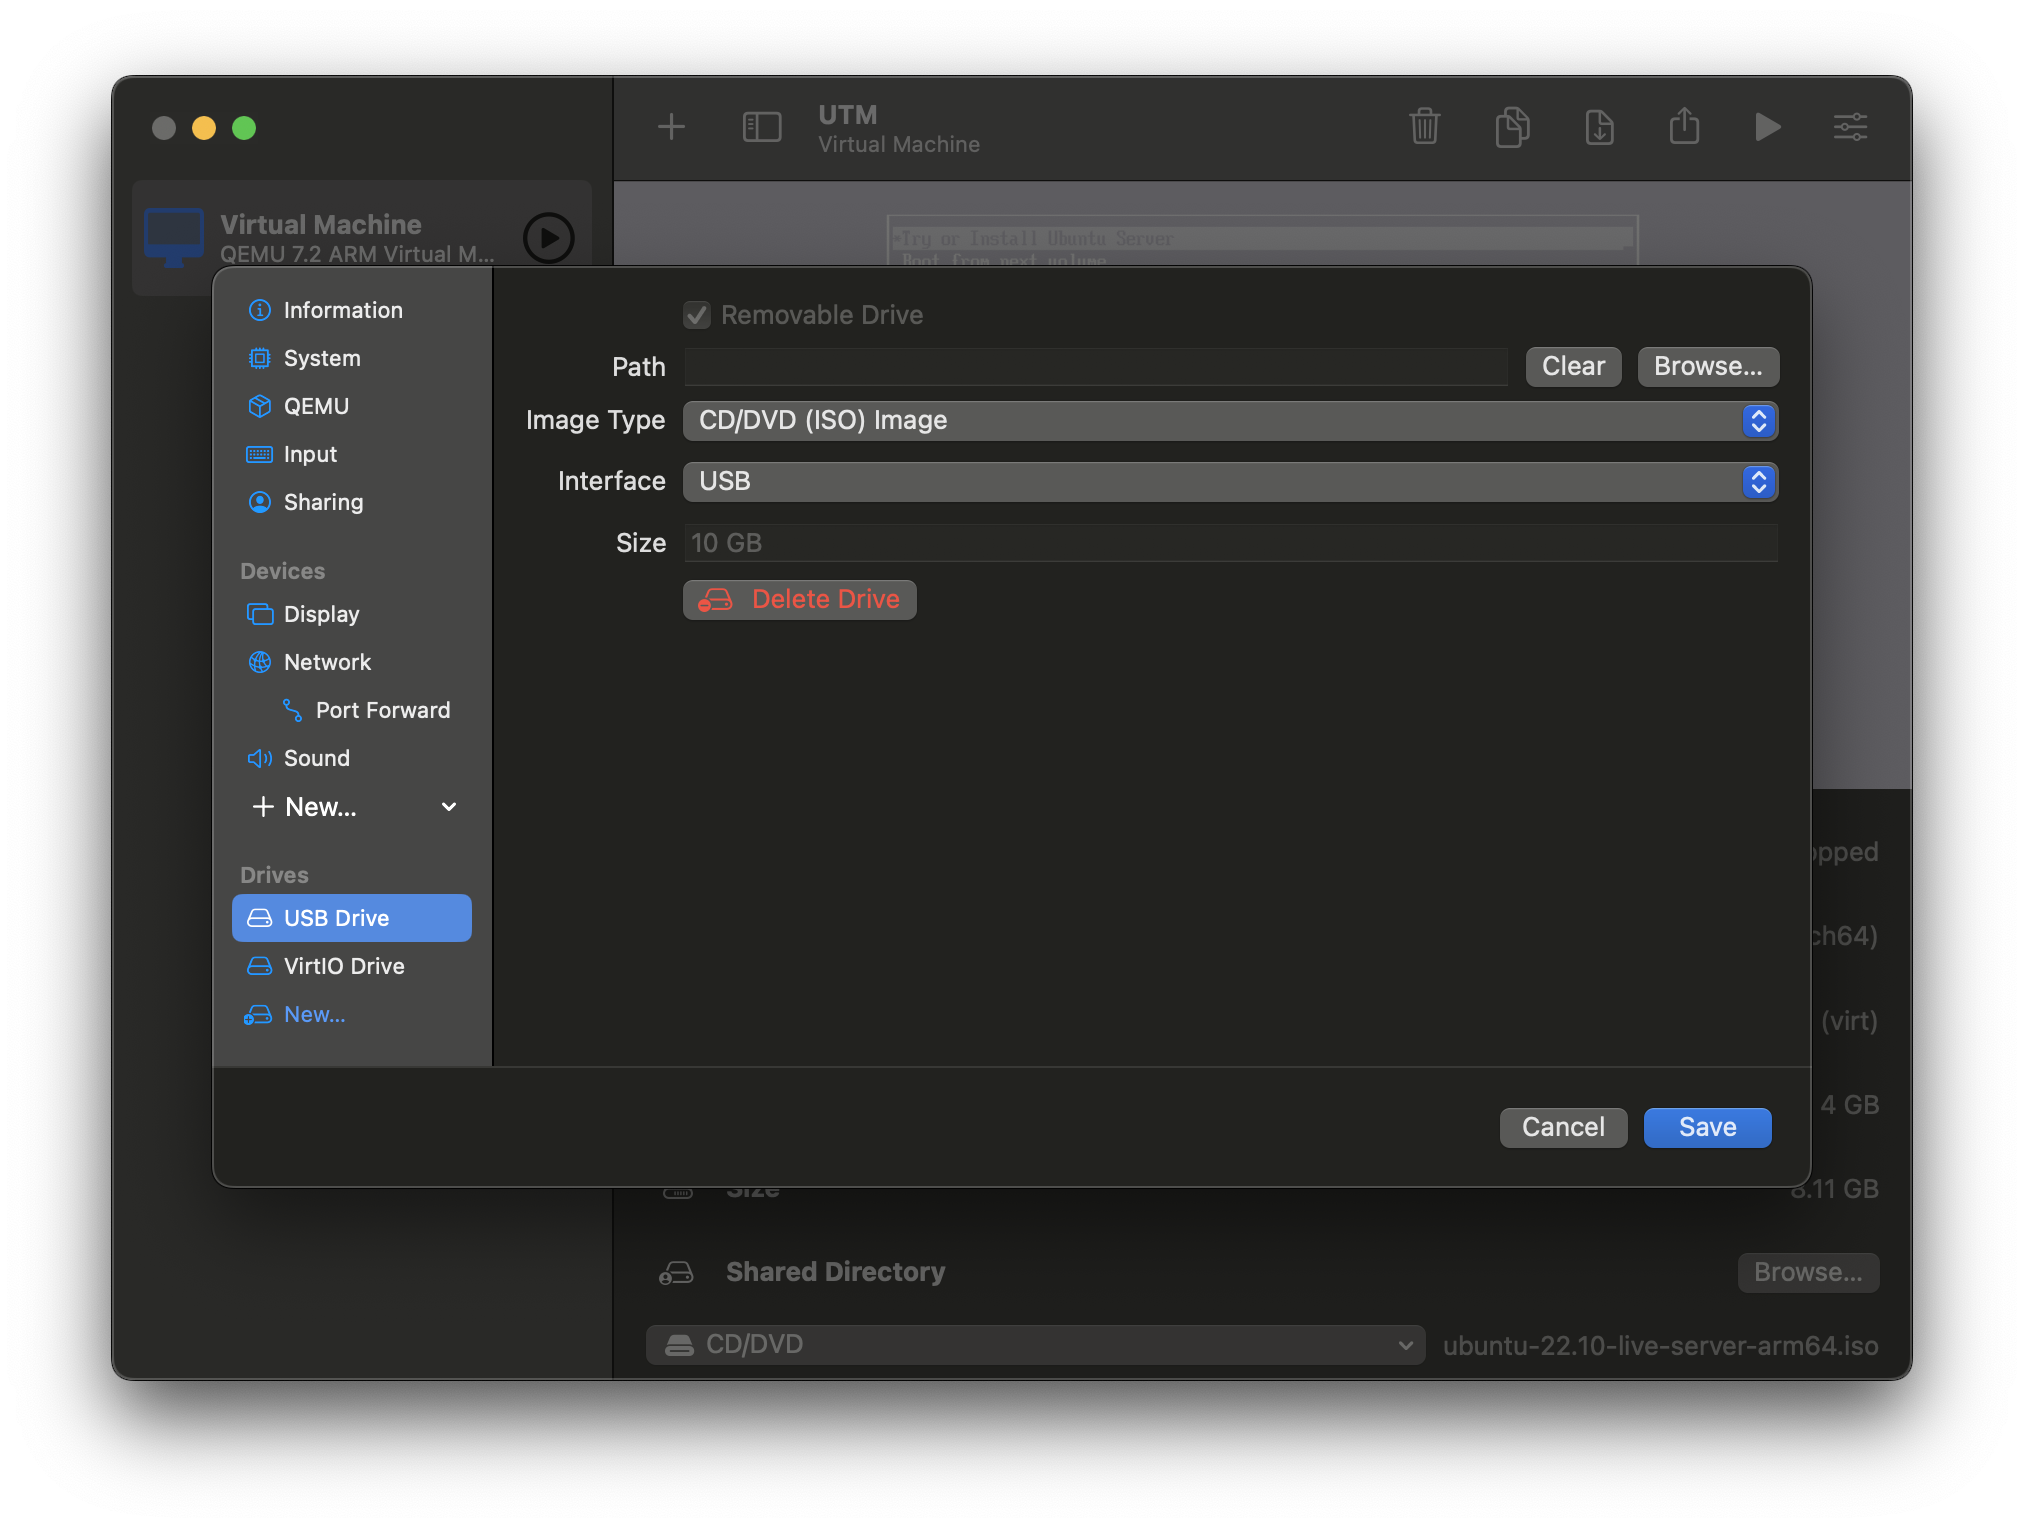
UTM
- Navigate to settings, Drive settings, USB
- Press "Delete Drive"
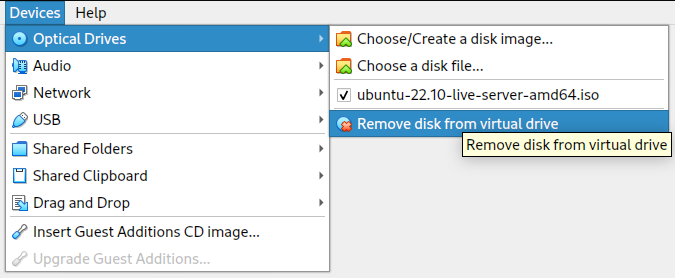
Virtualbox
- Navigate to Devices, in the top bar, optical drives
- Press "Remove Disk From Virtual Drive"
Once you have ejected your disk, You can restart your VM, and you should be greeted with a terminal. Upon a reboot, you should be greeted with a login prompt.