Setting up UTM
If you have an Intel Mac, you’re in the wrong place!
Look for the Windows/Virtualbox instructions!
Table of contents
- Download UTM
- Install
- Create a new VM
- Setup Port forwarding and SSH
- Return back to main setup
- See also
- Credits
Download UTM
Visit the website for UTM and download the latest version 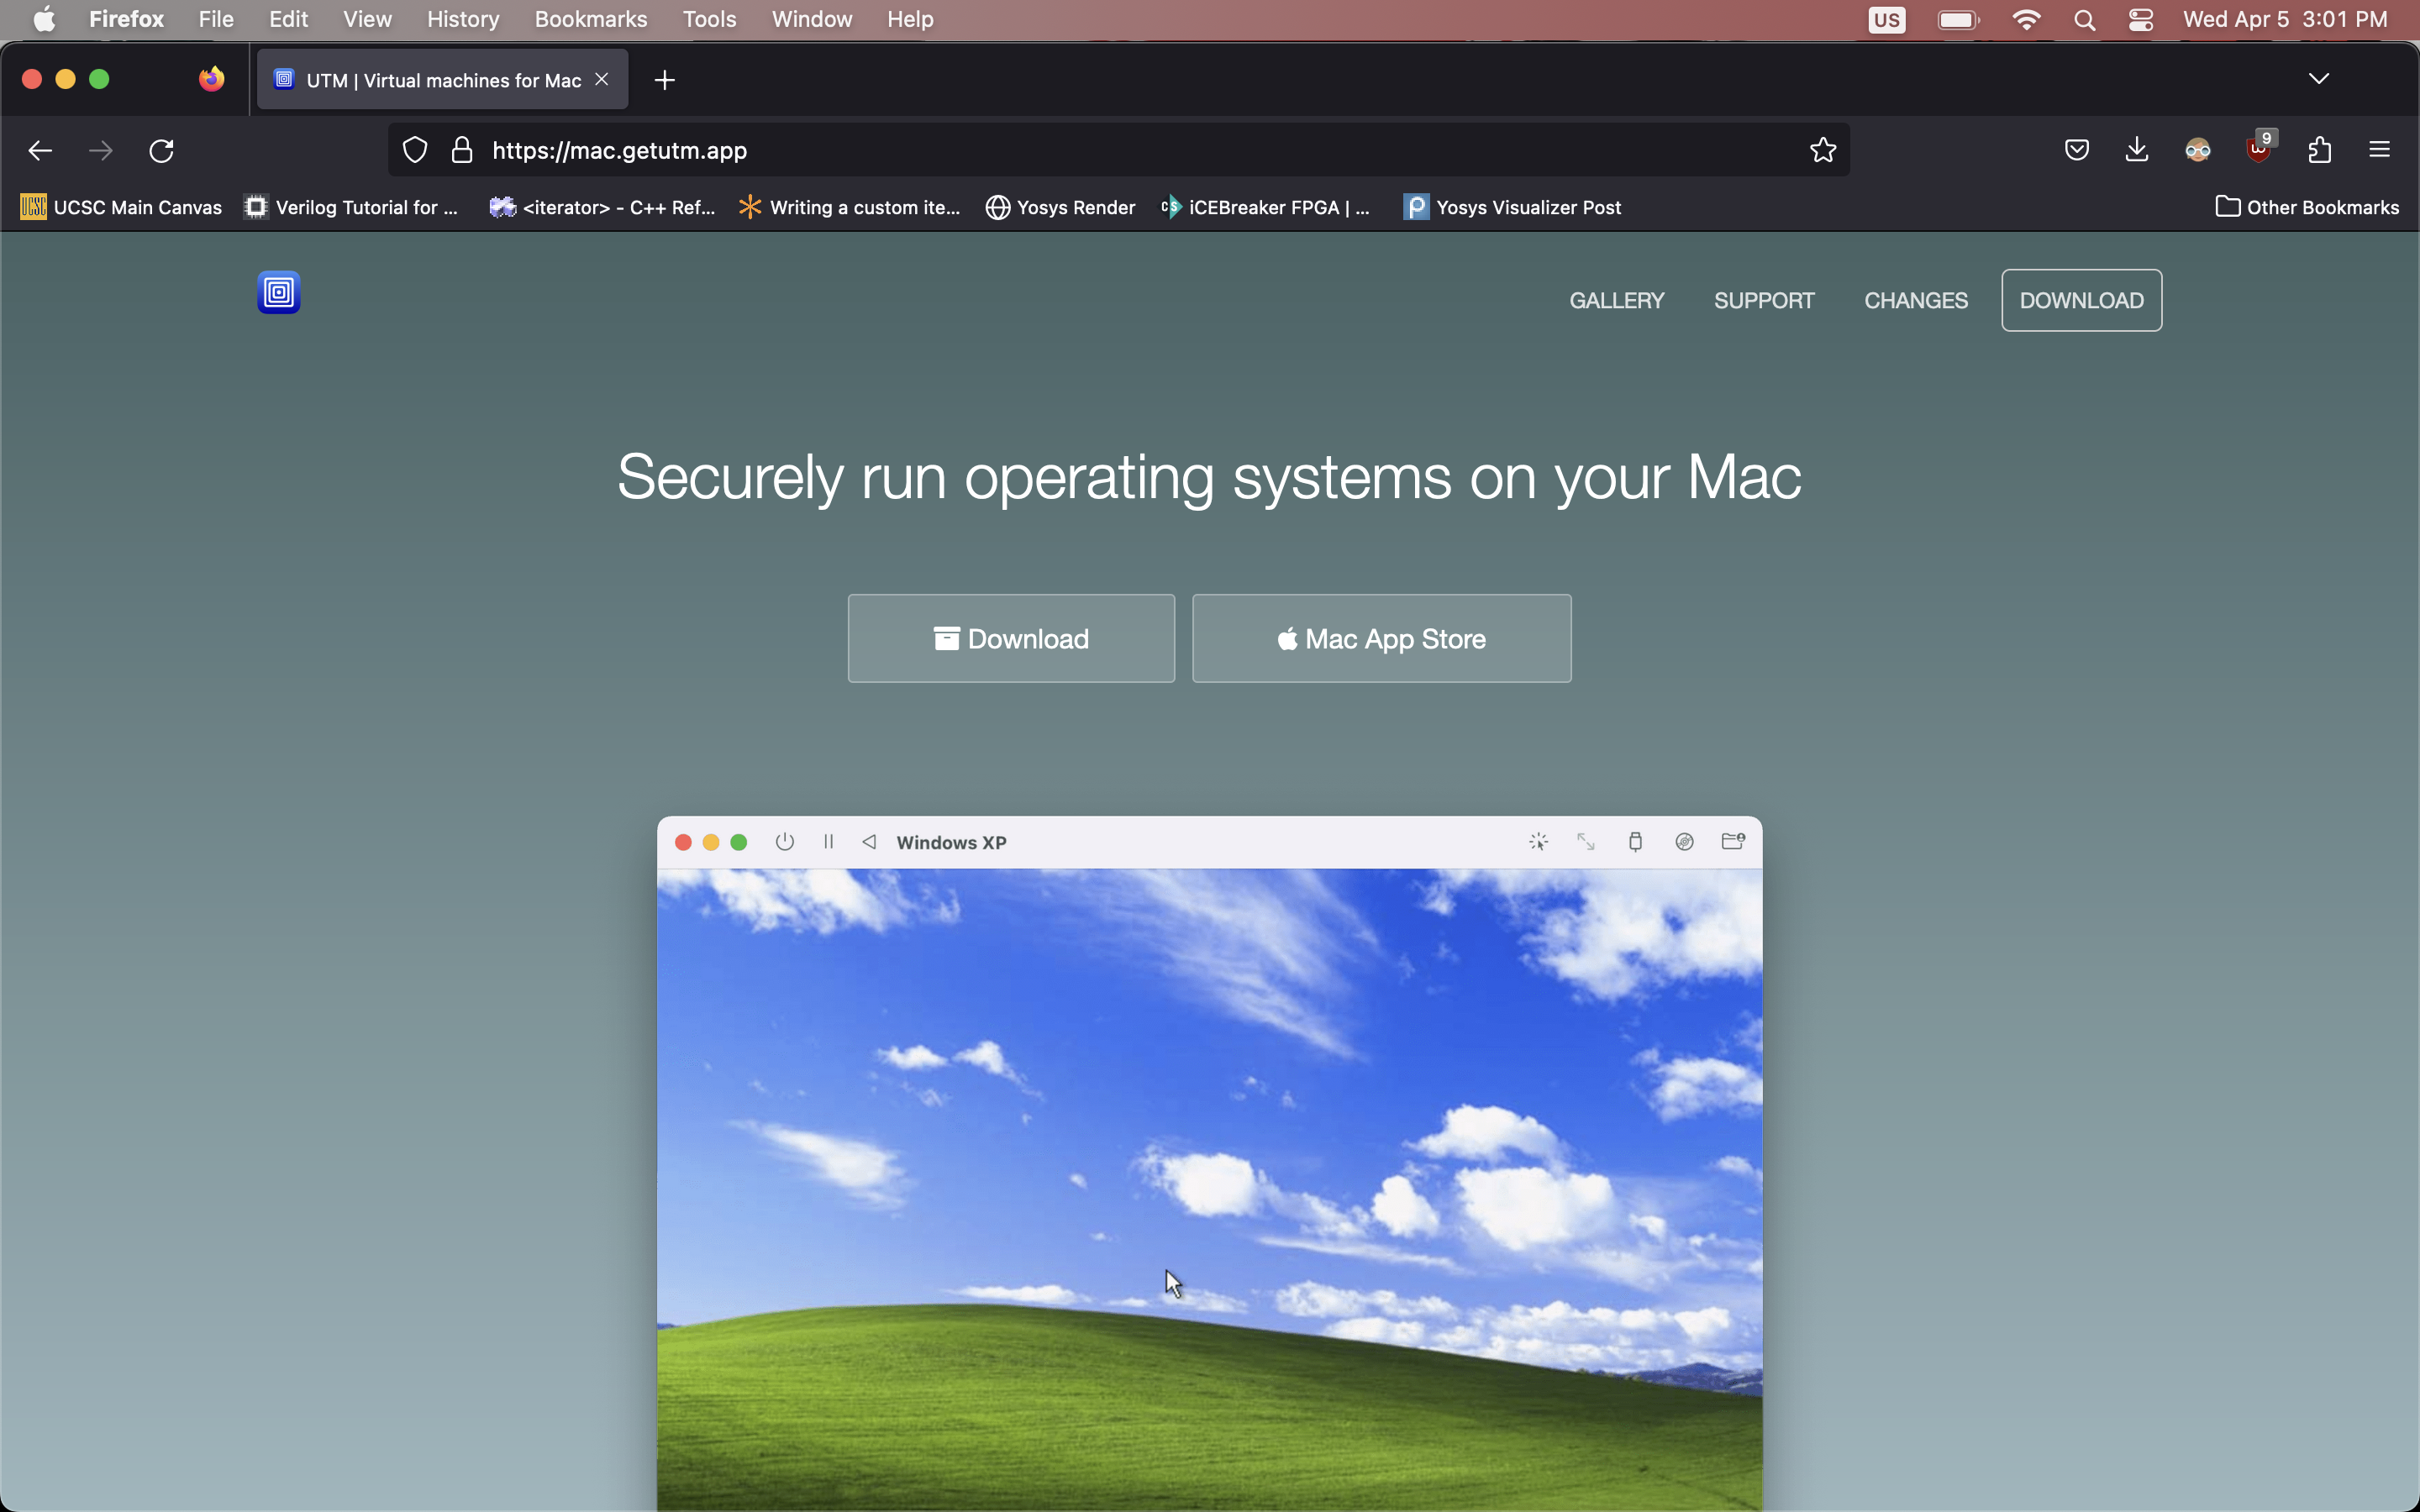
Install
- Install UTM as you would any other Mac Application. Then, open it
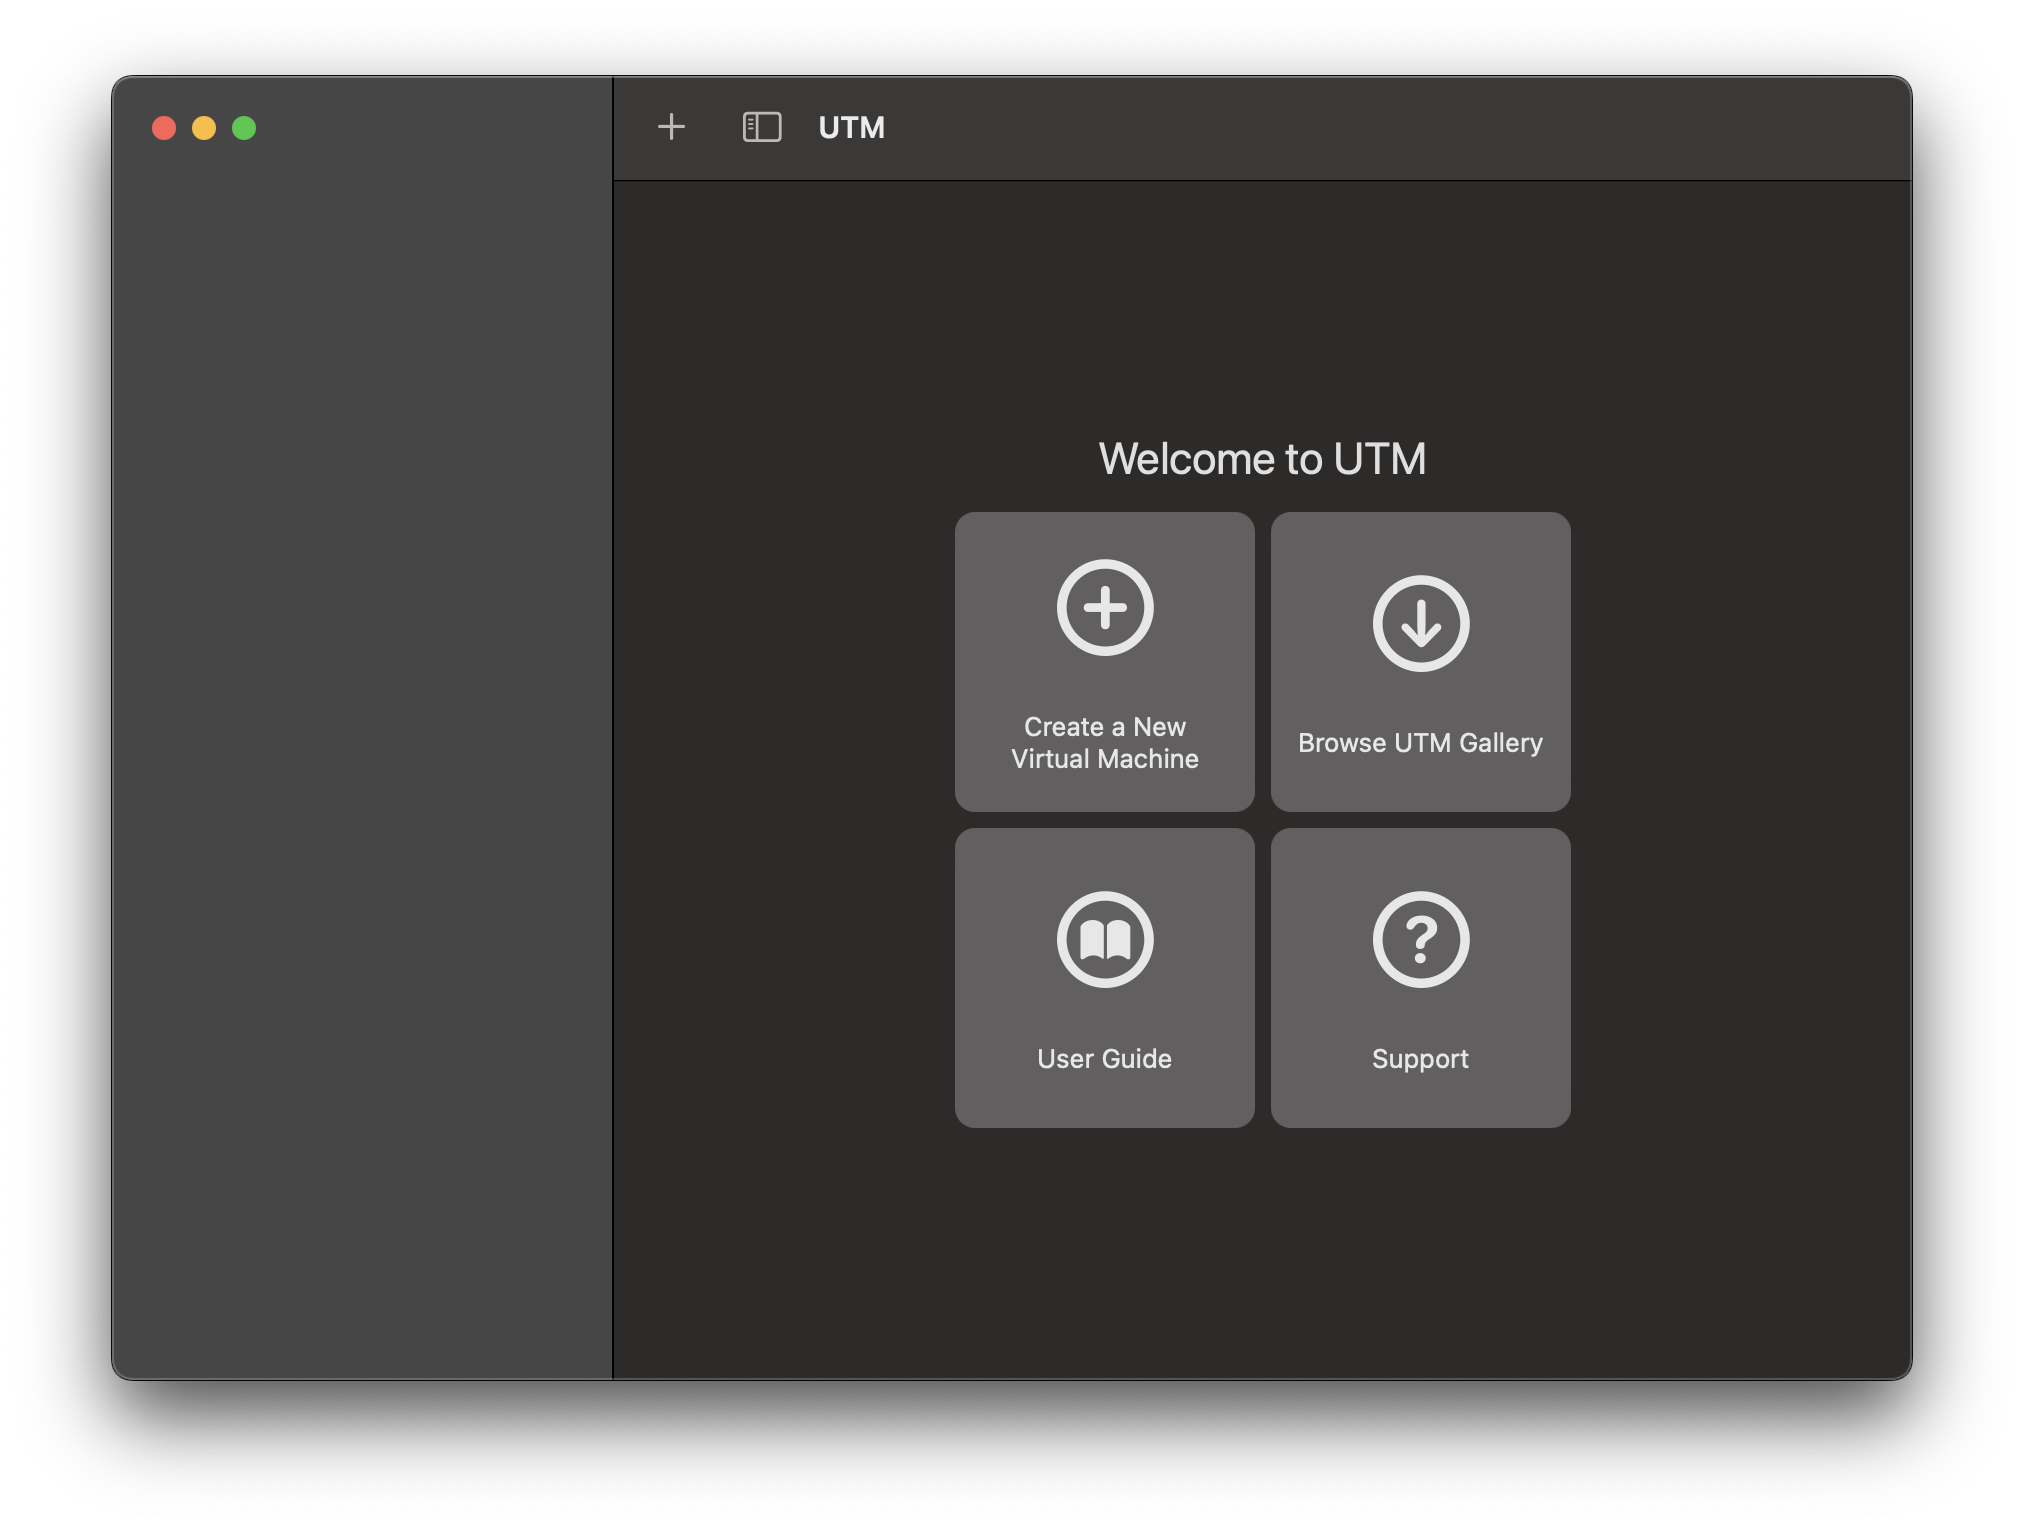
Create a new VM
-
Press “Create VM”
-
Make sure you select “Virtualize” not “Emulate”
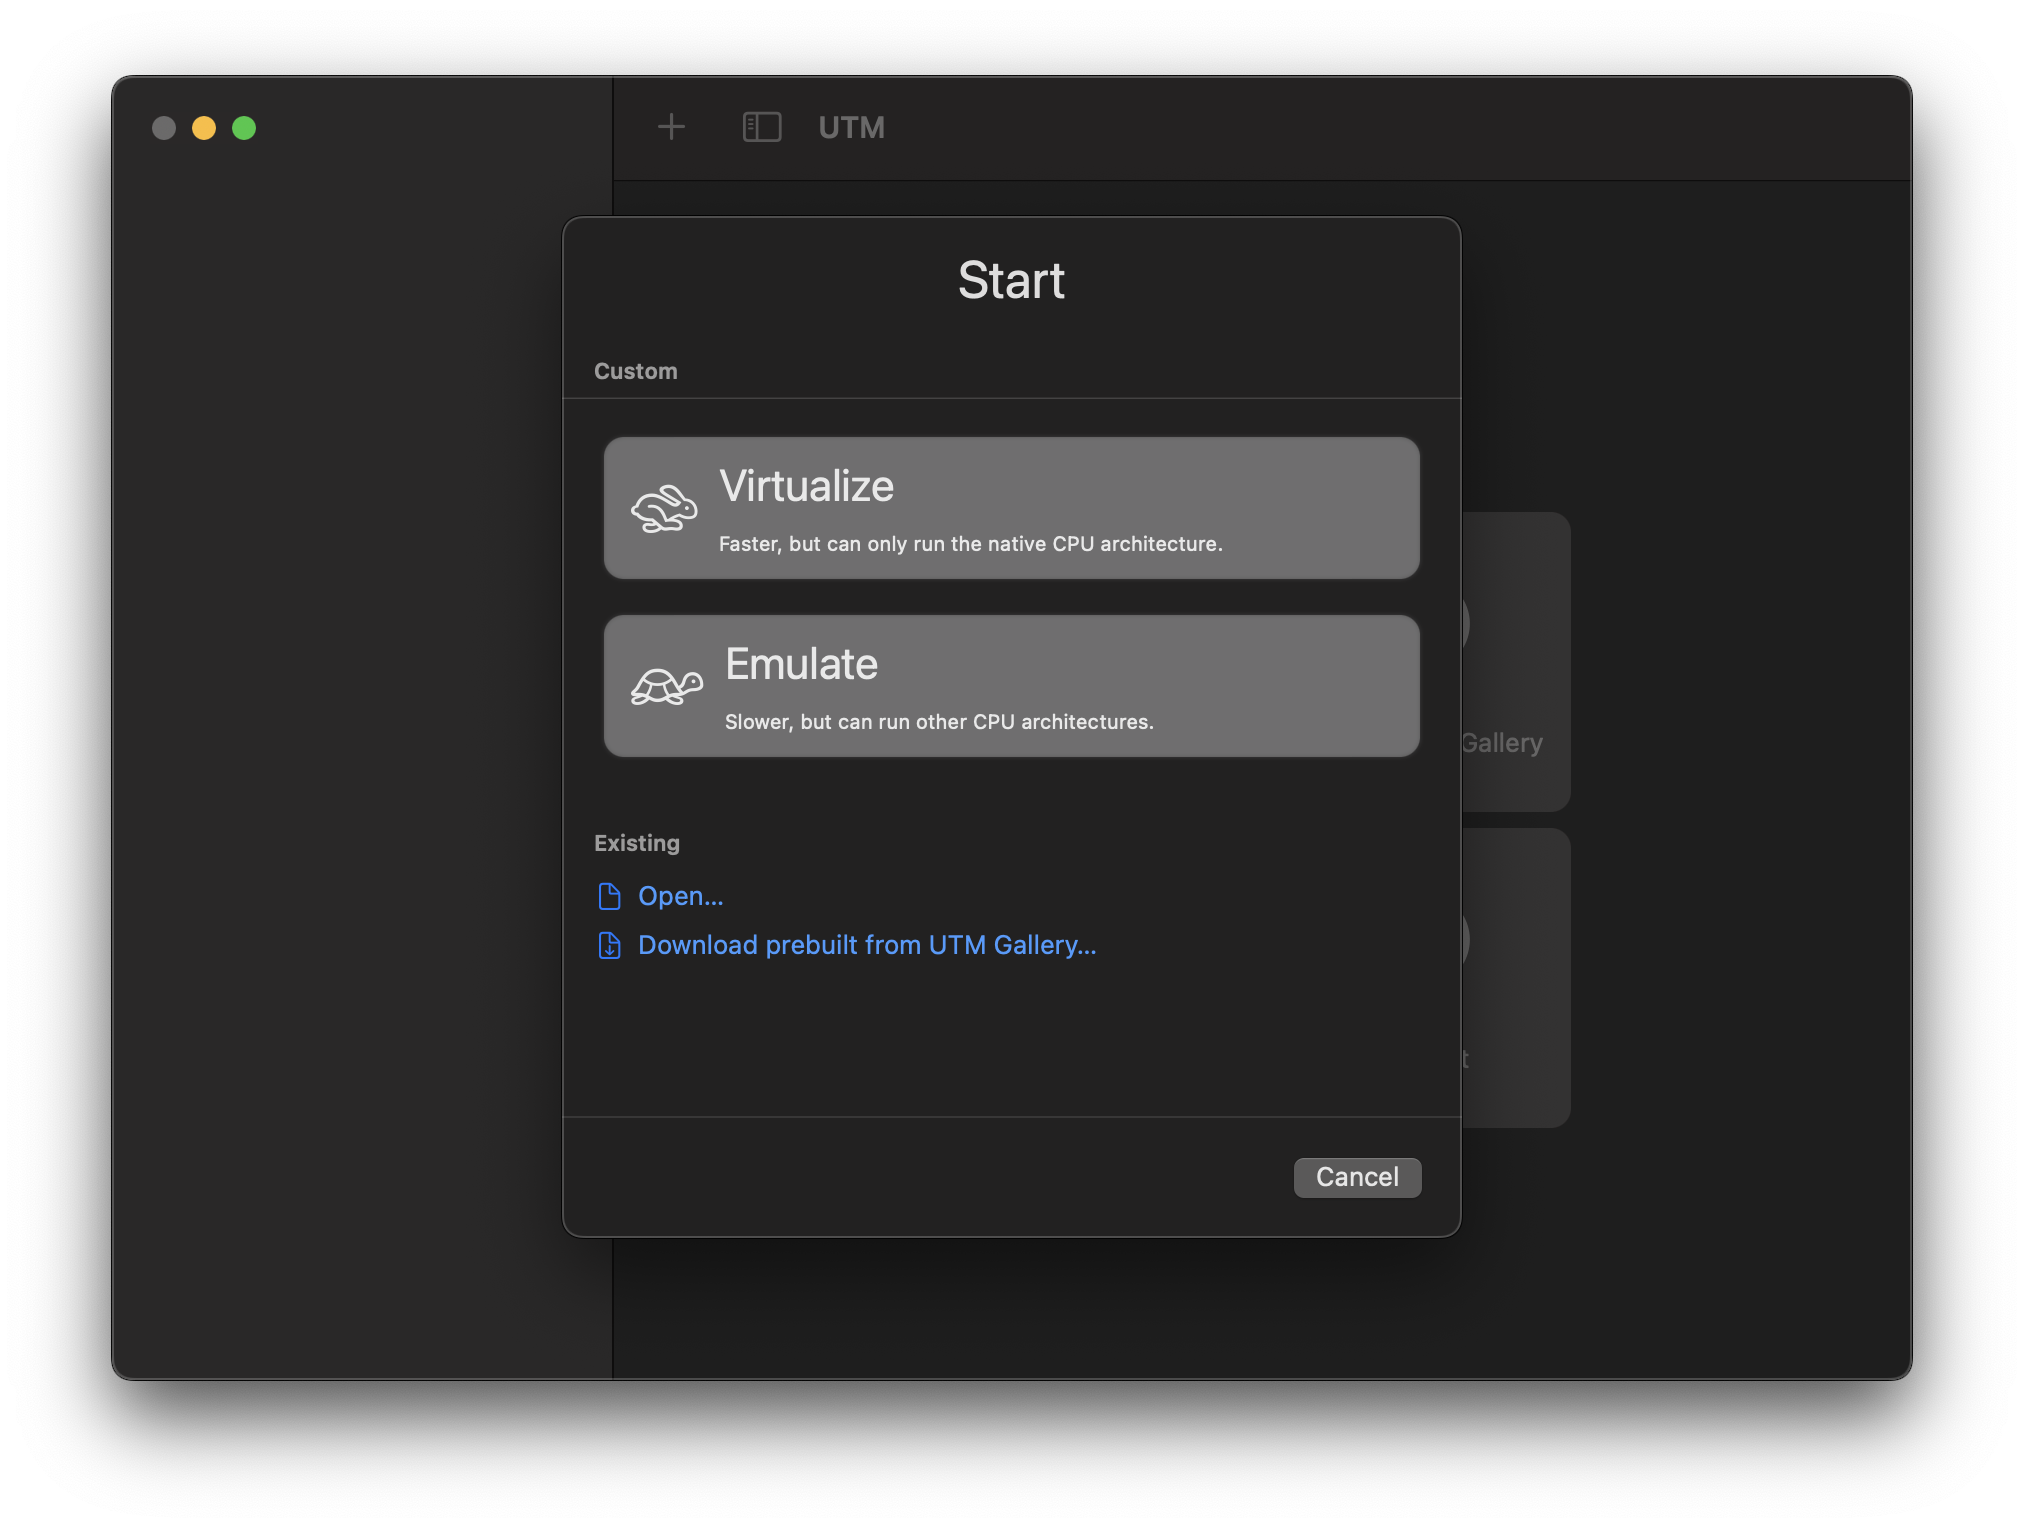 , as we will be using an Virtualized Arm system
 -
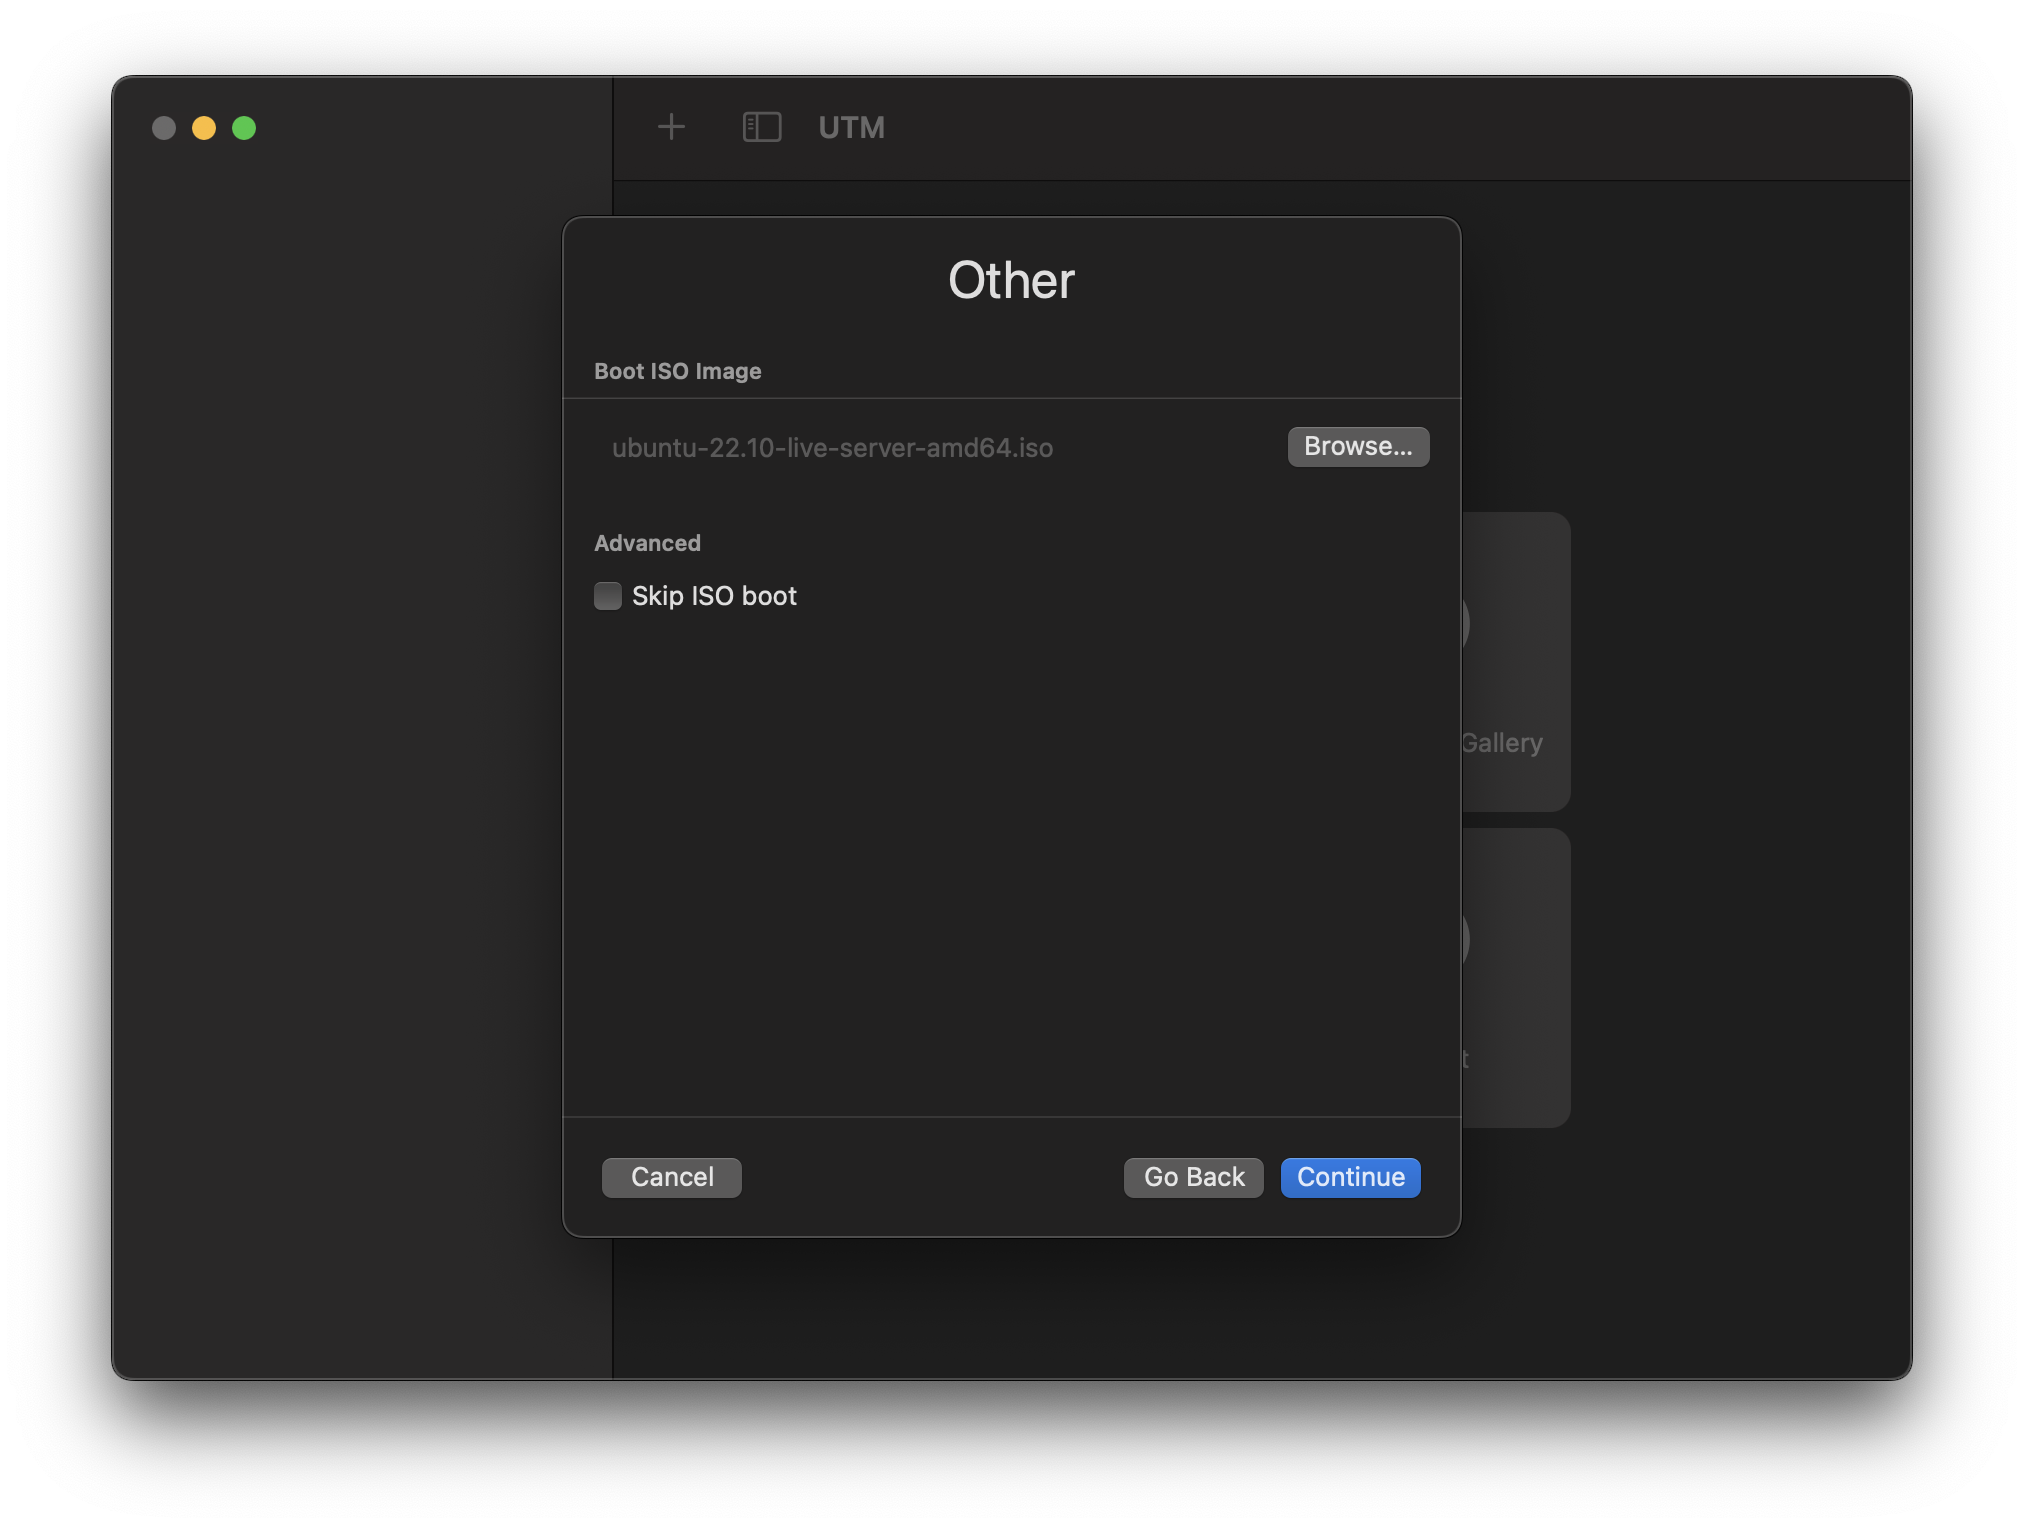
Add the ISO file that you downloaded.
Unlike me, make sure that you are using the ARM64 version
Also, make sure it is ubuntu 22.04-live-server-arm64
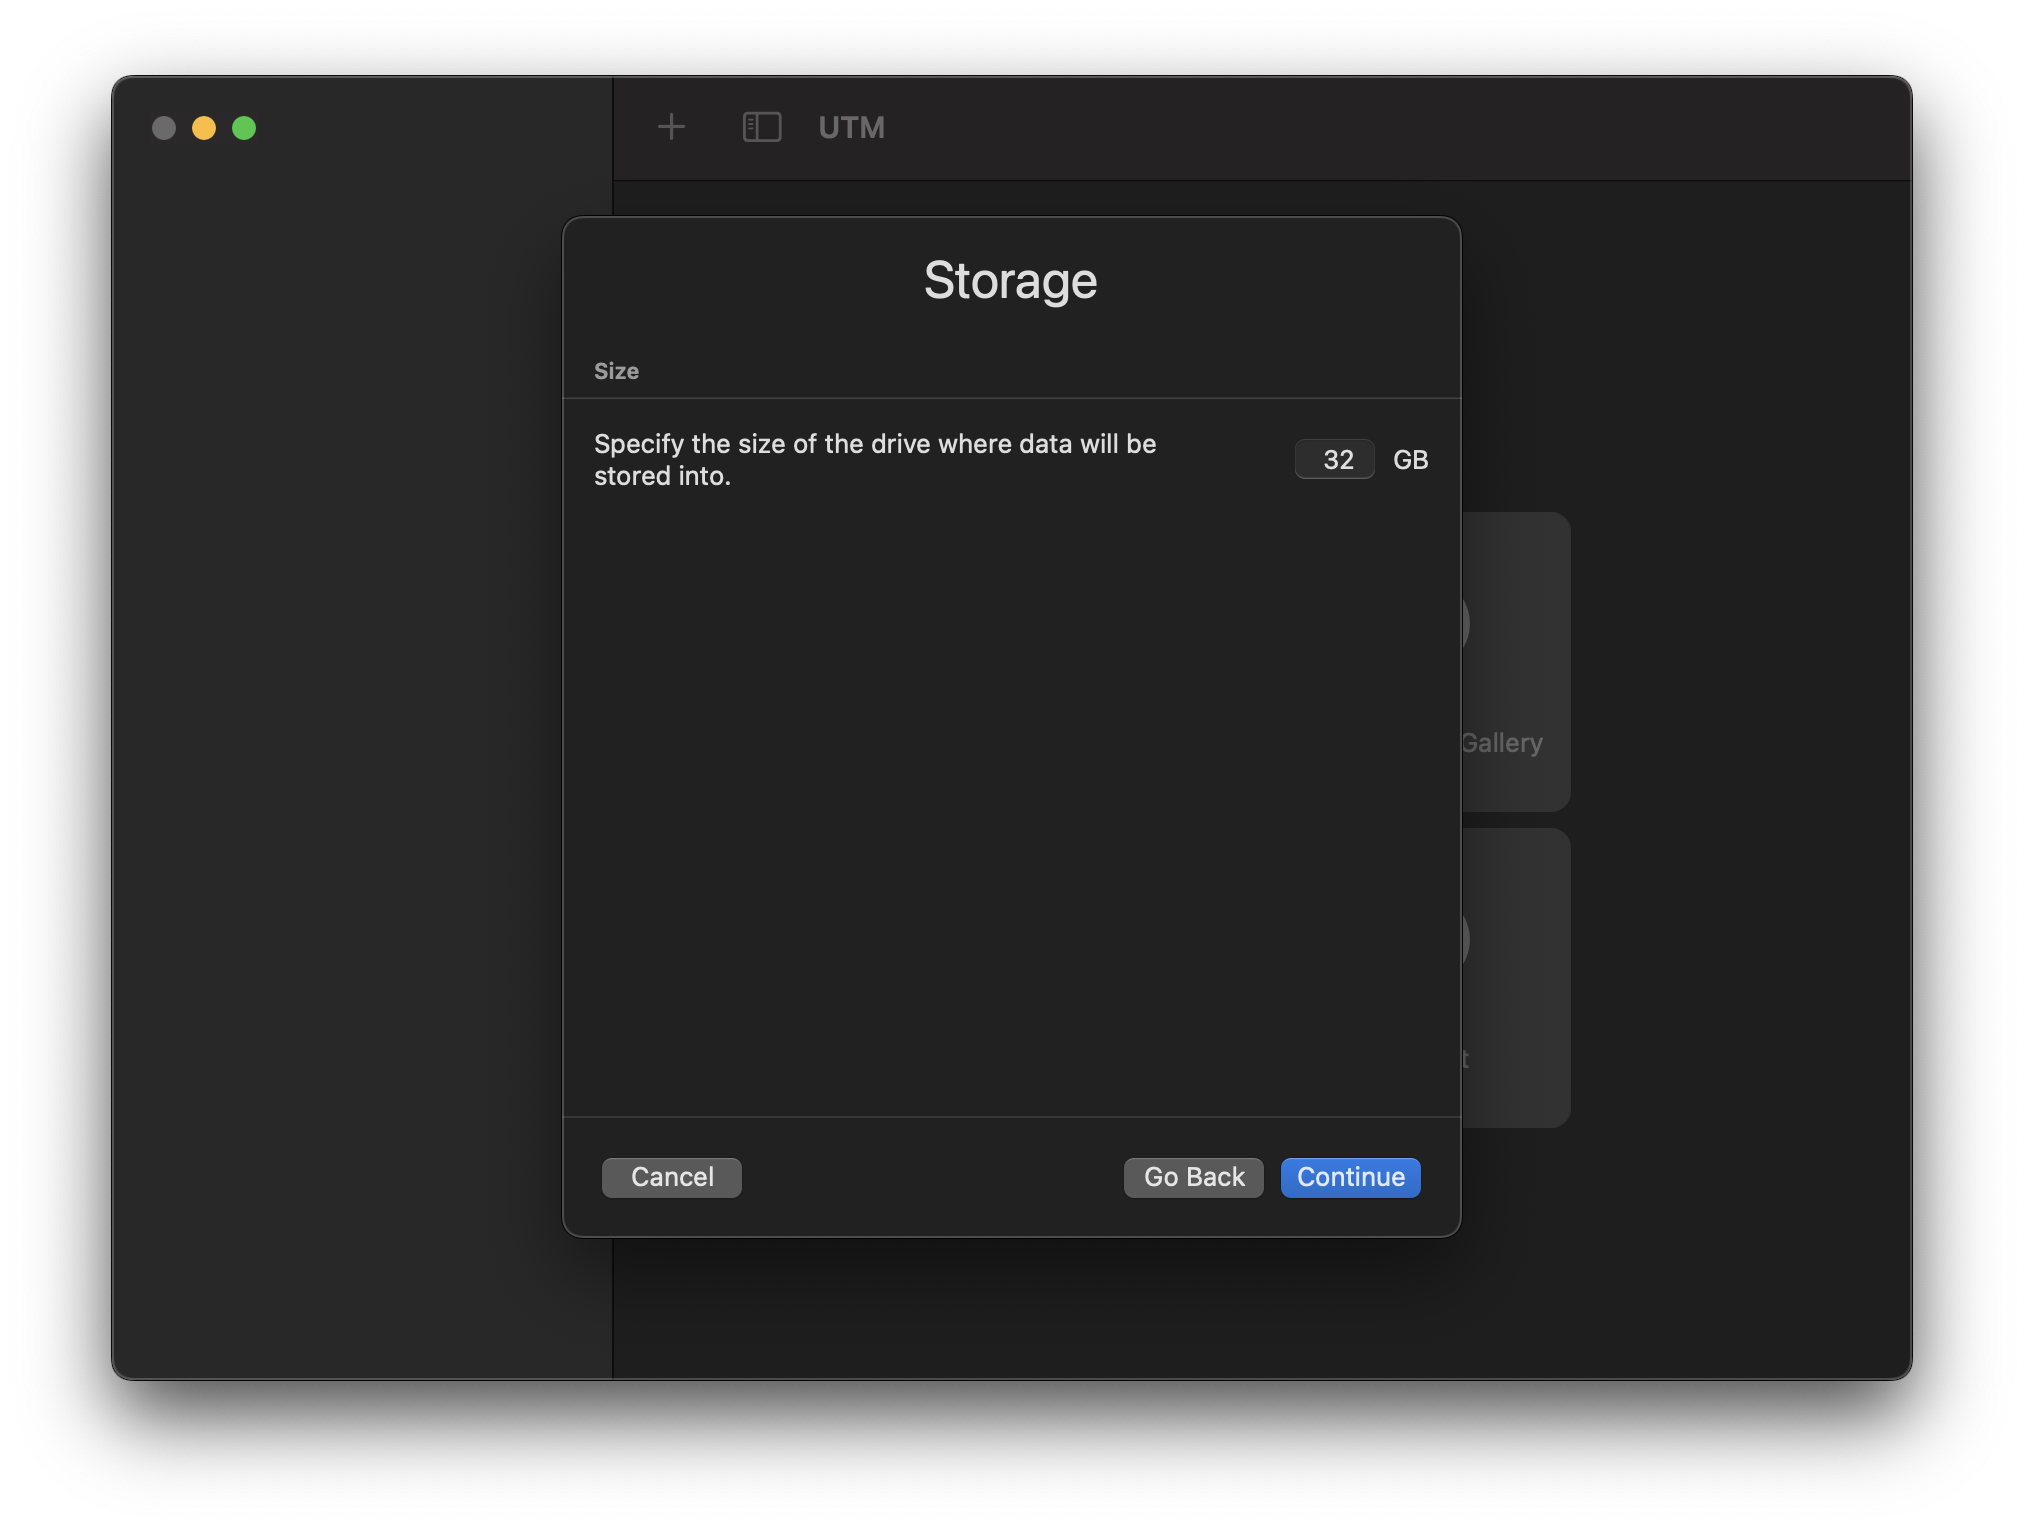
- Configure your storage, ram and CPU Cores
- you should increase your ram to at least 4gb, or more if you have any to spare
- you should not change the cores
- you should allocate at least 32 gb for your virtual disk file
- Press next on other options
- leave the shared directory page untouched
Setup Port forwarding and SSH
About Port forwarding and SSH
- ssh: Secure Shell
- Host OS: the OS that is running on your computer (Mac or Windows)
- Guest OS: The os that we are running in our virtual machine.
Port forwarding allows us to access services running on our guest OS (Virtual machine) on our Host OS (computer). The service we will be using the most is ssh, which will be critical in this course, and probably later in life also. SSH runs on port 22 by default, but can be configured to use anything. Because we may want to run SSH on both our host and guest OSes, we can not use port 22 for our guest OS ssh port. Therefore, we will use 2222, a (usually) open port that is often used as a backup for SSH.
Instructions
- Open settings
- navigate to network settings
- Change network mode to “Emulated VLAN” (this may not be needed, test)
- The option for “port forward” Should appear, open that menu
- Press “new” in the lower right corner
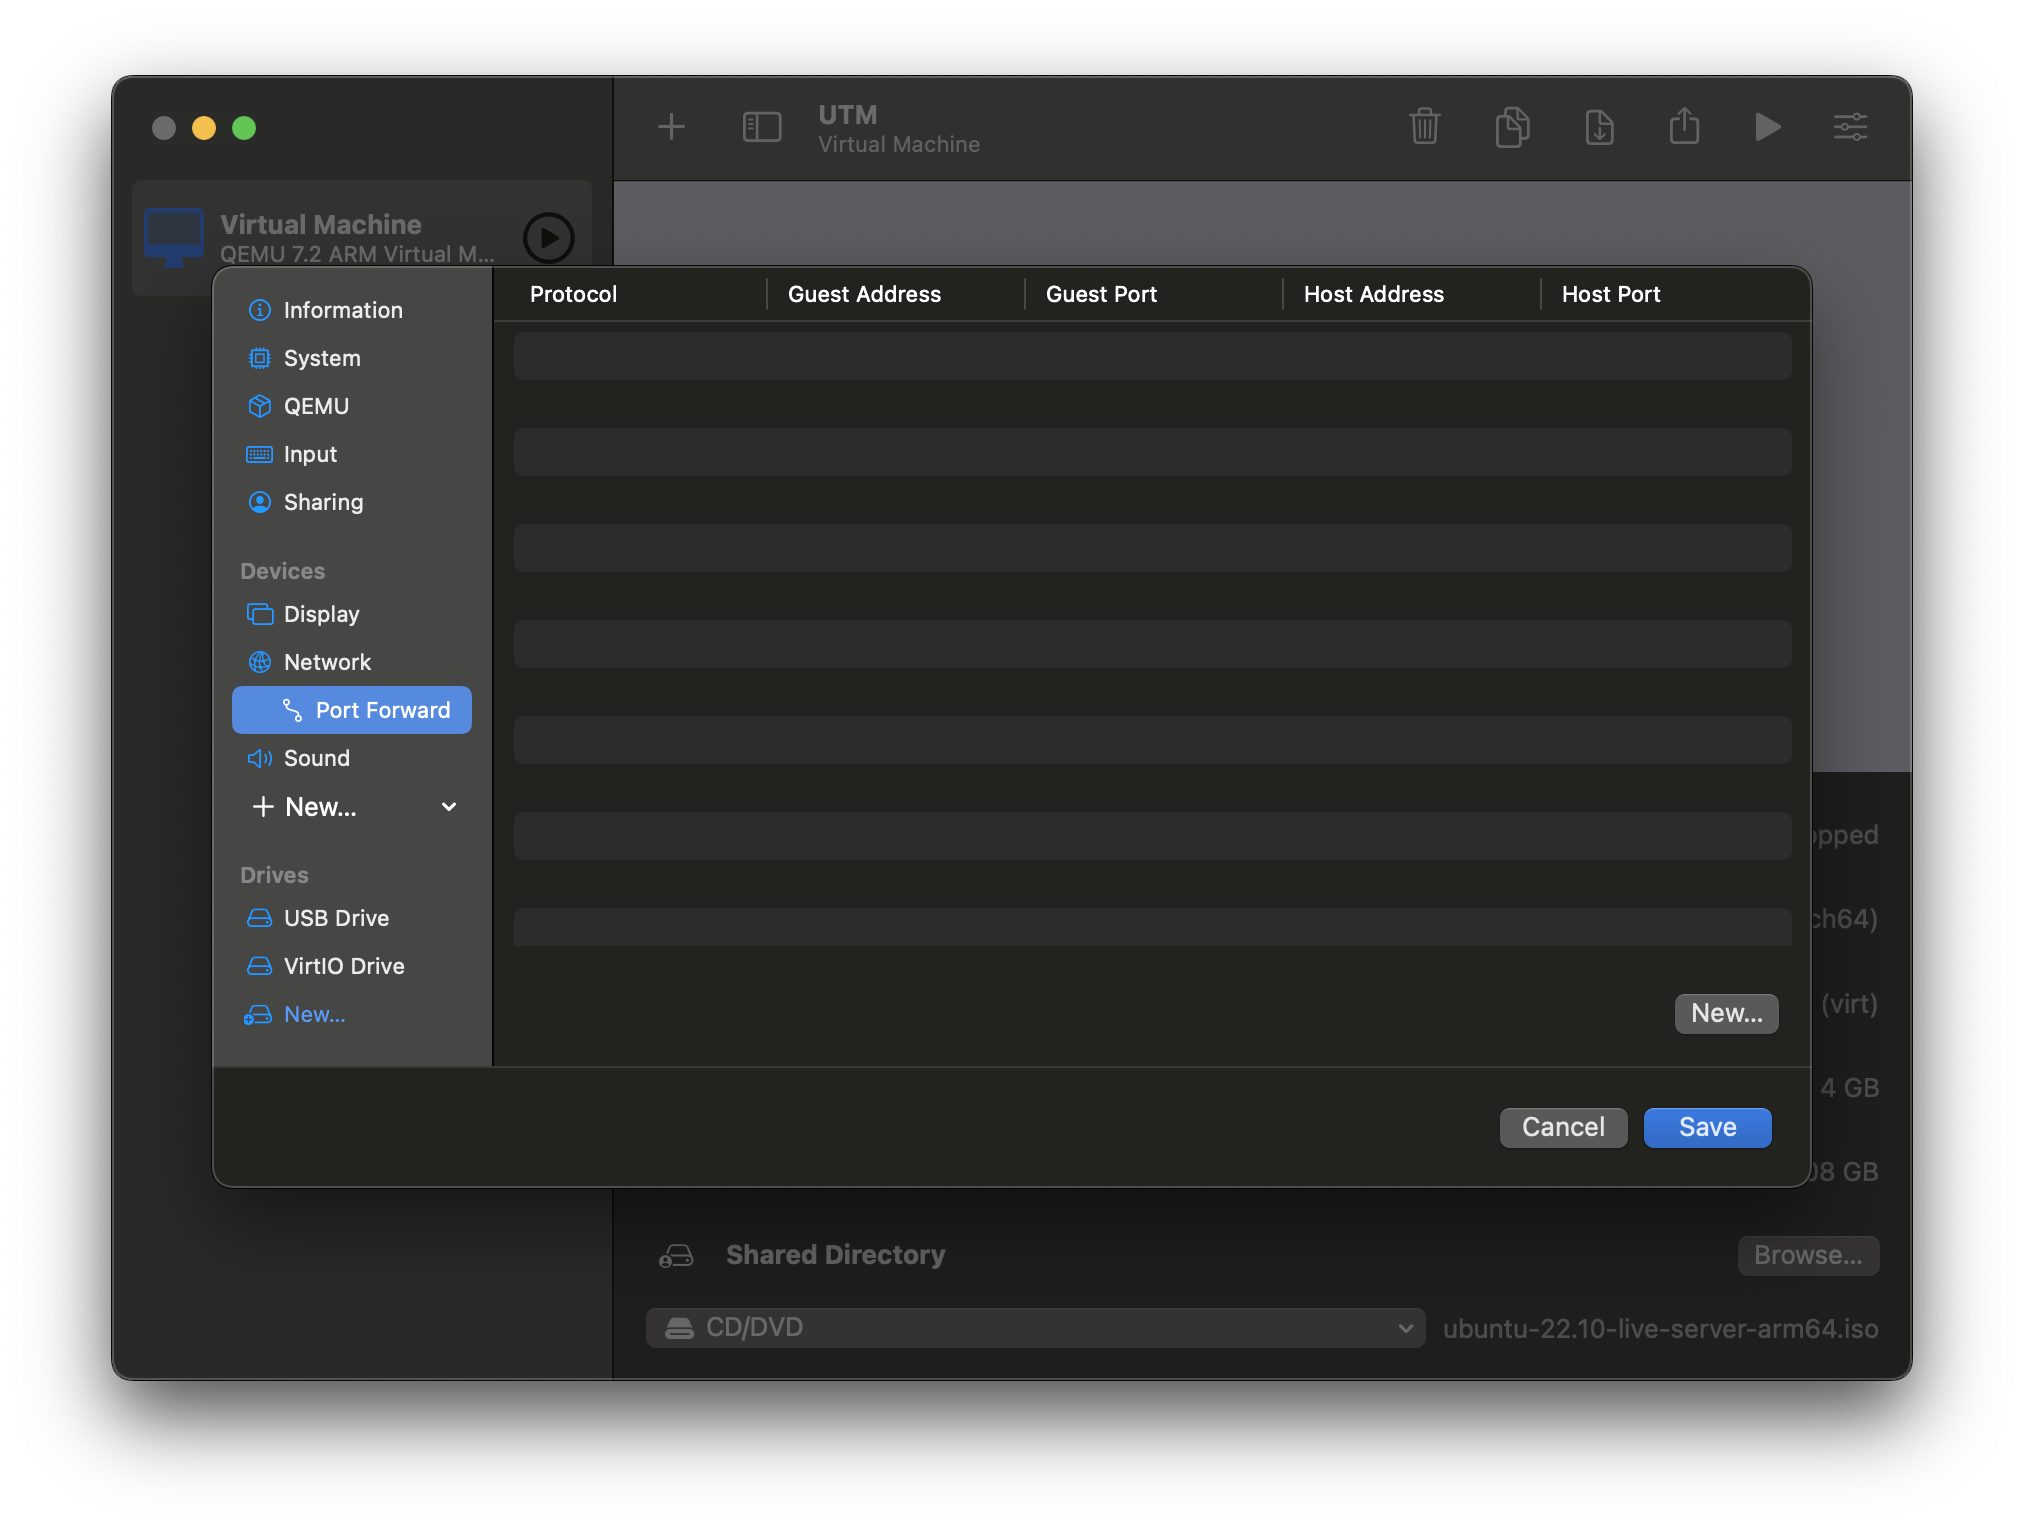
- Set the host port to 2222, and the guest port to 22
- Save and close
Return back to main setup
See also
Credits
- credit to gary for letting me use his computer to take all the screenshots